Sometimes when a friend sends me a video, asking if I will break it down for them, I make it exactly as the recipe video says. The friend that suggested this is, currently, doing an amazing job keeping up with her meal planning weeks, and I wanted to make it work-lunch friendly for her!
In this recipe, I used a slow-cooker, but like all slow-cooker recipes, you can easily convert the times into oven temperatures.
Ingredients:
- Sweet Bell Peppers
- Chicken Breast
- Cream Cheese
- Shredded Motzerella
- Buffalo Sauce
- Ranch Seasoning Mix (Optional)
- Best served with Mexican Rice (I like THIS kind best for quick meals)
TL;DR: Cook chicken in buffalo sauce, Shred chicken, add cream cheese, some shredded cheese, seasoning mix, and more buffalo to taste. Cut peppers in half, spoon in filling, finish cooking in crock pot. Serve with rice.
This recipe is being based off of 1 lb of chicken. This breast is obviously not one pound, but most breast are about half a pound each. This way you can make a little or a lot.

I sprayed Crock-Pot with oil and placed the breast in with buffalo sauce on top.
Half a cup per pound is a good place to start.
Half a cup per pound is a good place to start.

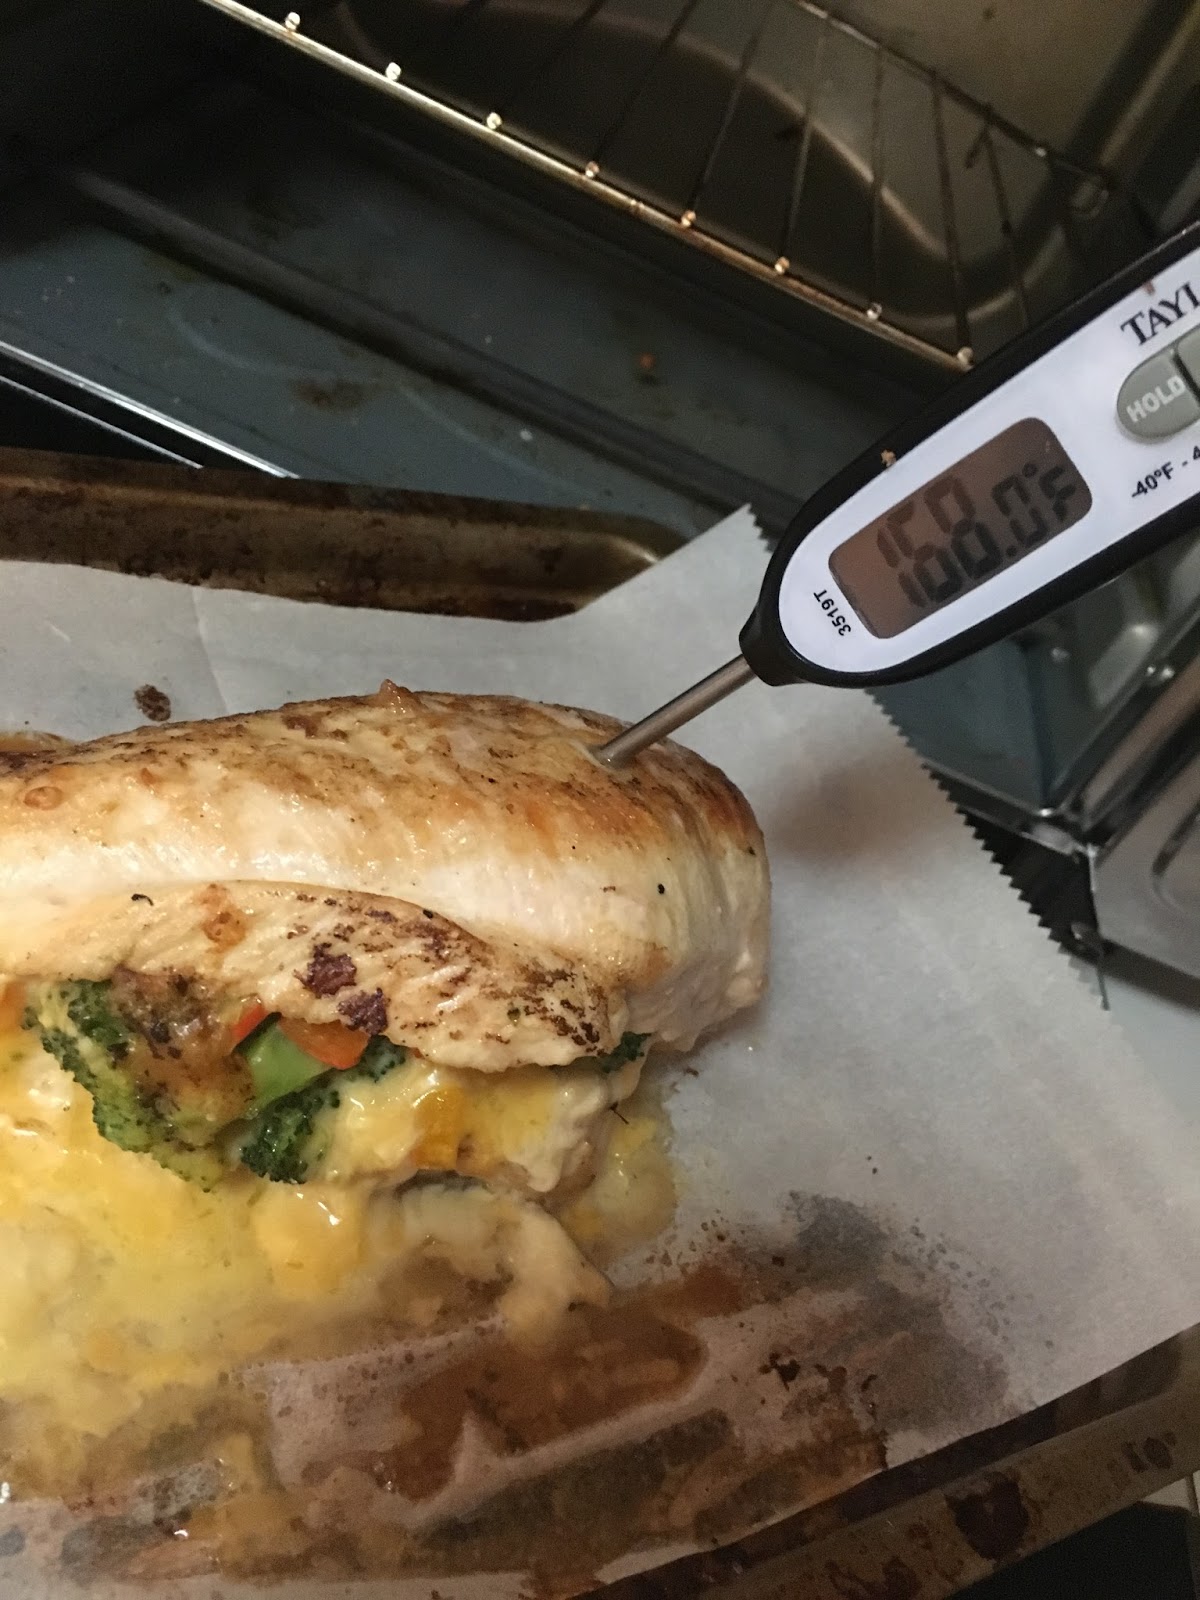
After an hour and a half on High, my chicken was done.
(Don't for get to TEMP your chicken! 165!!)
Next I got my hand mixer out and used it to shred the chicken.
(Don't for get to TEMP your chicken! 165!!)
Next I got my hand mixer out and used it to shred the chicken.

This was my first time using this technique, and I was pleasantly surprised with it!!

Next I sprinkled the ranch seasoning over the chicken,
(Do a tablespoon per pound of chicken if you need an exact measurement)
(Do a tablespoon per pound of chicken if you need an exact measurement)
Then added half a brick of cream cheese.

The hand mixer worked so perfectly for mixing everything together!
If you don't have a hand mixer, you'll just have to shred the chicken with two forks, or use your stand mixer if you have one.
If you don't have a hand mixer, you'll just have to shred the chicken with two forks, or use your stand mixer if you have one.

I tasted it, and decided to add more buffalo sauce. Perfect!

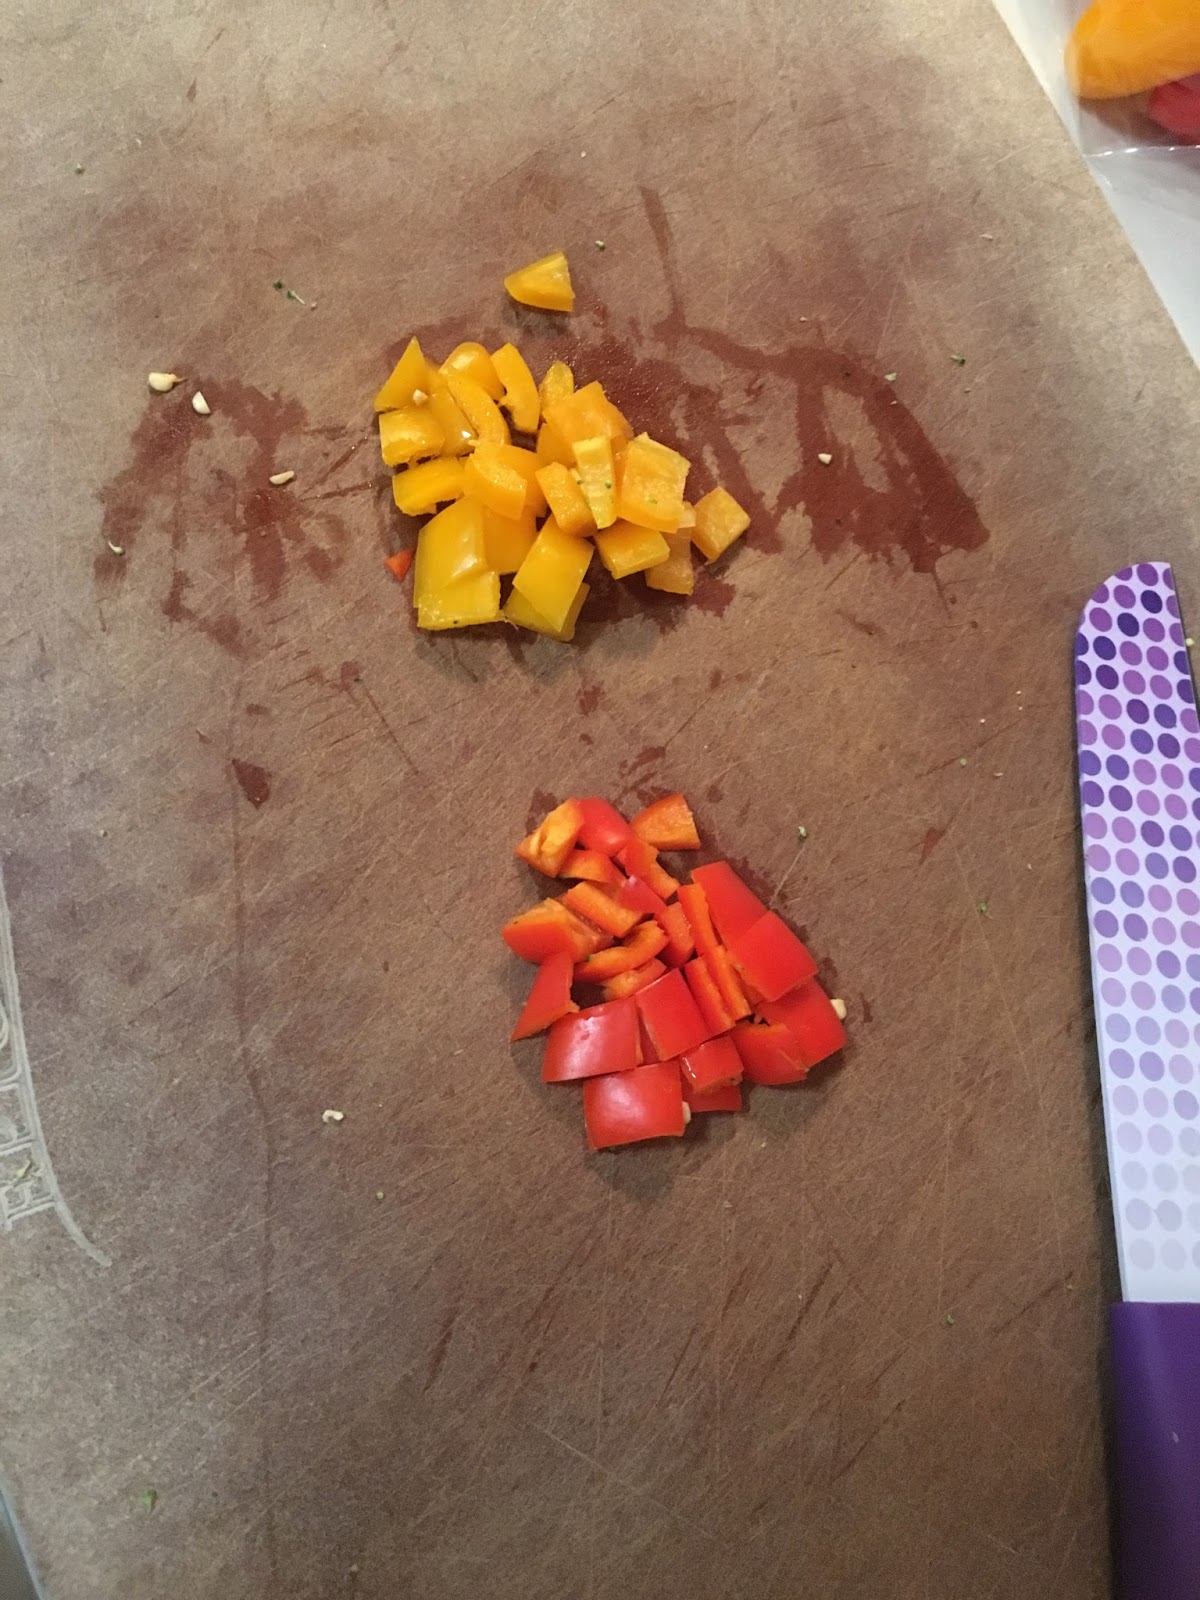
I turned the crock pot Off, and set it aside while I cut up some bell peppers.
Just cut the tops off, cut down the middle, and then spoon the seeds and flesh out.
I only made ten of these (5 peppers) Though there was enough chicken for double that.
Just cut the tops off, cut down the middle, and then spoon the seeds and flesh out.
I only made ten of these (5 peppers) Though there was enough chicken for double that.

I saved the other half of the filling I didn't use, and wiped my crock pot down.
I re-sprayed the CP, and then placed the peppers inside. I only made 10, but you can see there is room for more peppers!
Lastly, sprinkle shredded cheese on top.
I re-sprayed the CP, and then placed the peppers inside. I only made 10, but you can see there is room for more peppers!
Lastly, sprinkle shredded cheese on top.

They were done in an hour on Low.

I had 3 with about less than a cup of rice, for lunch, and I felt filled!
They made look small, but the amount of chicken/protein filled me up with out feeling overstuffed!
Let me know if you decide to make these!
I would love to know if you used them as lunch, dinner or part of your weekly meal prep plans!
I'm always around for troubleshooting!
Just stop by My Facebook Page !