
I had seen this recipe floating around Facebook a lot, AND it was a request from one of my favorite friends! I'm always up for taking requests!
In this recipe I'll show you the best technique for cutting fresh broccoli! Frozen broccoli is fine, and pre-cut broccoli can save you a lot of time, but I find whole "heads" of broccoli are always cheaper and on sale more often.
Ingredients:
- Chicken Breast
- Fresh Broccoli
- Shredded Cheese
- Bell Peppers
TL;DR - Chop up your veggies first, and let them steam. Using a paring knife, cut a slit in chicken. Mix cheese and steamed veggies in a bowl. Stuff chicken. Sear chicken in pan on all sides. Bake until internal temp reaches 165.
These are the ingredients I used:

The best way to cut up broccoli, it to turn it upside down. Then put your knife right underneath where you want to cut the tree off.

Remember: "The best knife is the one most comfortable in your hand"

Make your way around the broccoli, keeping your fingers FAR away from your knife.

And that's all there is to it!

Afterwards, I cut the pieces even smaller, to make it fit into the chicken easier.
Throw these in a pan with a little water, and a lid on med-low heat. (This was a 3-4 on my stove)

Our favorite bell peppers, are Sweet Mini Bell Peppers. You can usually get a whole bag of red, orange, and yellow ones for a decent price! It's lasts us a while! We find we don't always (Or usually ever lol) need a WHOLE bell pepper.
Start by cutting off the tops, and then cutting the, in half. Save your seeds! It's spring time after all!
If you're not into gardening.... Just throw them away ;)
If you're not into gardening.... Just throw them away ;)

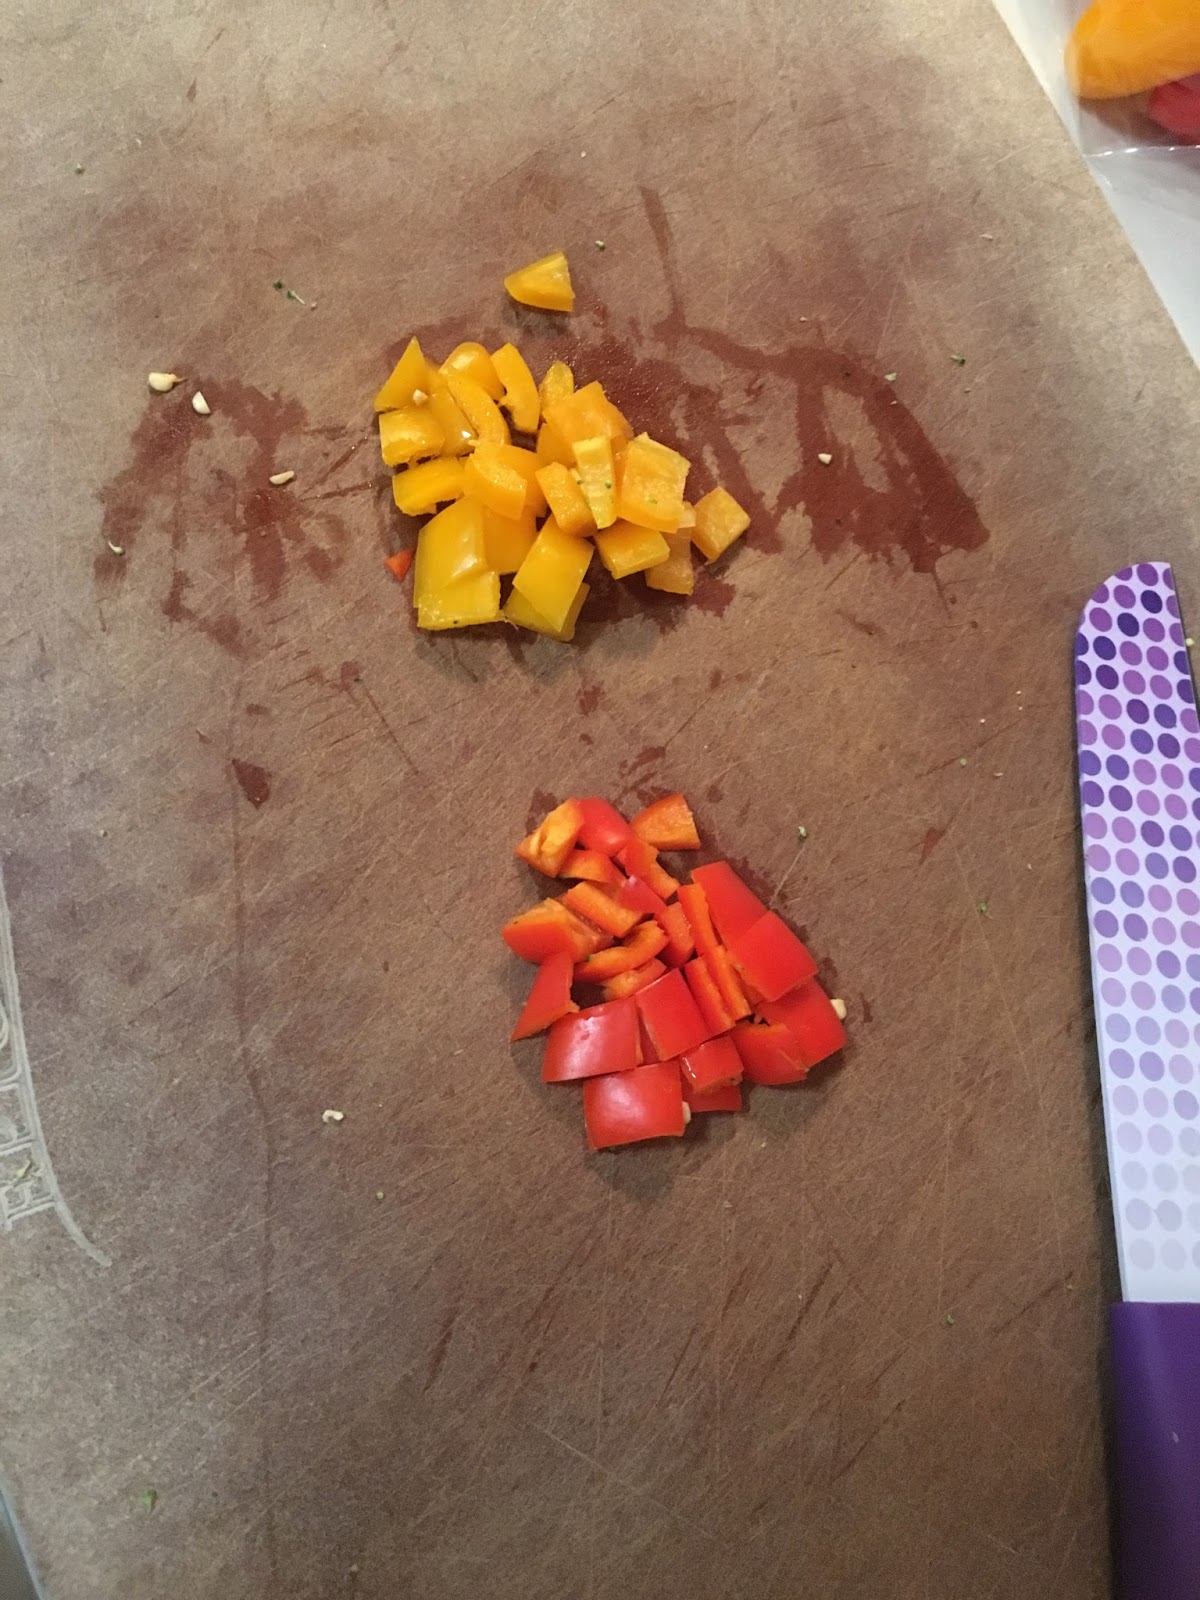
From there cut each half into strips.

Turn the strips sideways, and cut again. You made diced bell peppers!
Throw them in the pan with the steaming broccoli.
Throw them in the pan with the steaming broccoli.
Chicken time!!
First, size up your knife, comparing it to the chicken. (I should have used a smaller knife for the demonstration, but I was already using this one for the veggies. )
Notice how far your knife can go with out going all the way through the chicken, so you won't go past that point when cutting the chicken.

Start at the thickest part of the chicken. Starting at the thin part will make your start more difficult to pierce the chicken. If your knife is sharp, you can do this with out having to use a 'sawing' motion.
Keep your thumb AWAY from your knife!
See how mine is tucked under my other fingers, that are resting on top?
Keep your thumb AWAY from your knife!
See how mine is tucked under my other fingers, that are resting on top?

After making a long cut, I went back in with a swiping motion and made the cave a little bigger so we could put more stuffing inside.

Your veggies should be done steaming, so I put them in a bowl and mixed the cheese in.
Stuff to your hearts content!
Stuff to your hearts content!

I really shoved as much as I could in there lol

It barely closed! Perfect :)
Use toothpicks to help it stay closed while you sear it.
Now is a good time to put a little oil in a pan with med-high heat.
(I used the same pan for steaming and searing)
Use toothpicks to help it stay closed while you sear it.
Now is a good time to put a little oil in a pan with med-high heat.
(I used the same pan for steaming and searing)

When your oil is nice and hot (but not so hot that it causing smoke) place your chicken on the pan. When one side has the color you like, use tongs to flip it over to the other side. You might even have to do this with the sides as well.

After searing the opening part, we were able to take the toothpicks out with out everything falling out.

Time to bake! I put it in my toaster oven at 350 degrees. I set a timer for 15 minutes to check on it.
IT PROBABLE WONT BE DONE IN 15 MINUTES!
IT PROBABLE WONT BE DONE IN 15 MINUTES!

It wasn't. The chicken breasts we get are huge! So, it only temped at 140 at the time.
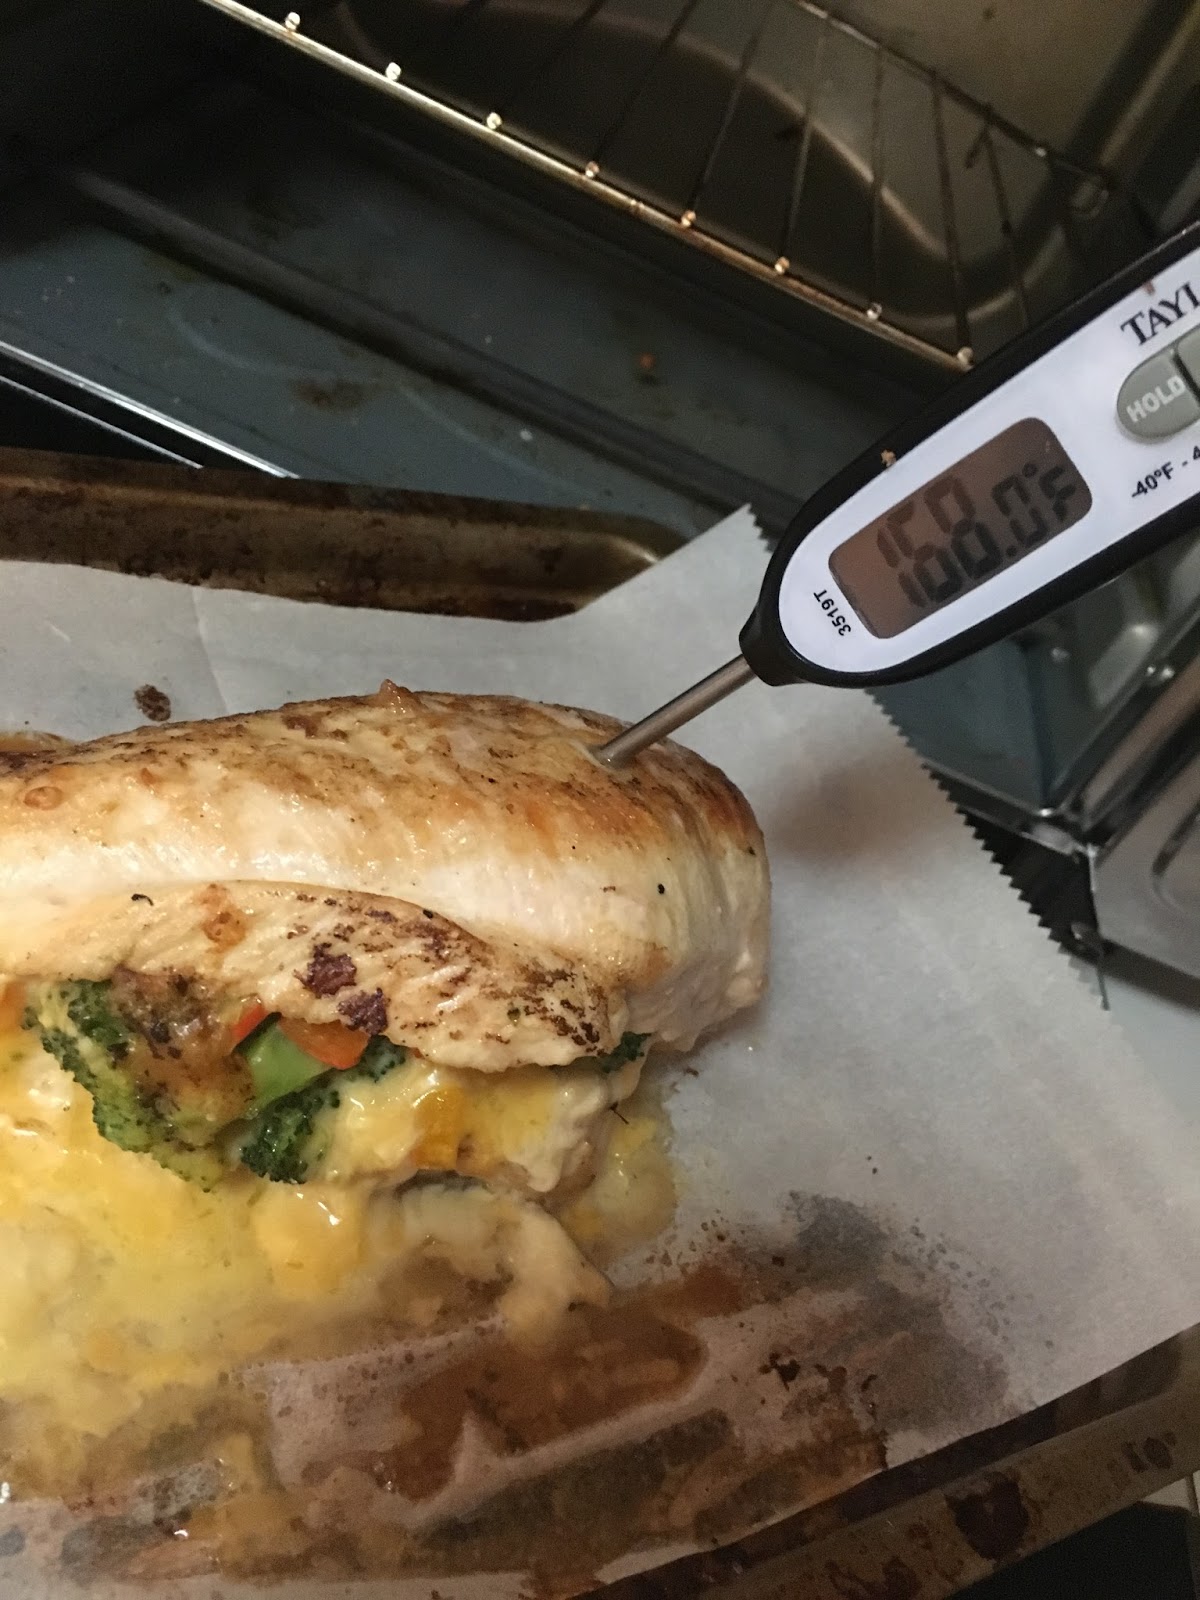
But less then 10 minutes later, we got the 165 that we need.
IMPORTANT!! Put your thermometer in the THICKEST part of the chicken!!
But less then 10 minutes later, we got the 165 that we need.
IMPORTANT!! Put your thermometer in the THICKEST part of the chicken!!
After it temped I let it set on a cutting board for about 5 minutes, so the juices we worked so hard to get, wont run out everywhere.

Finally! The wait is over!!
Because we are only feeding 2 1/2 right now, this one breast was just enough for my husband and myself.
Because we are only feeding 2 1/2 right now, this one breast was just enough for my husband and myself.

We served it with an arugula pecan salad with mandarin oranges.
(With Olive Garden Dressing... Hey, you don't have to make EVERYTHING )
(With Olive Garden Dressing... Hey, you don't have to make EVERYTHING )

No comments:
Post a Comment